
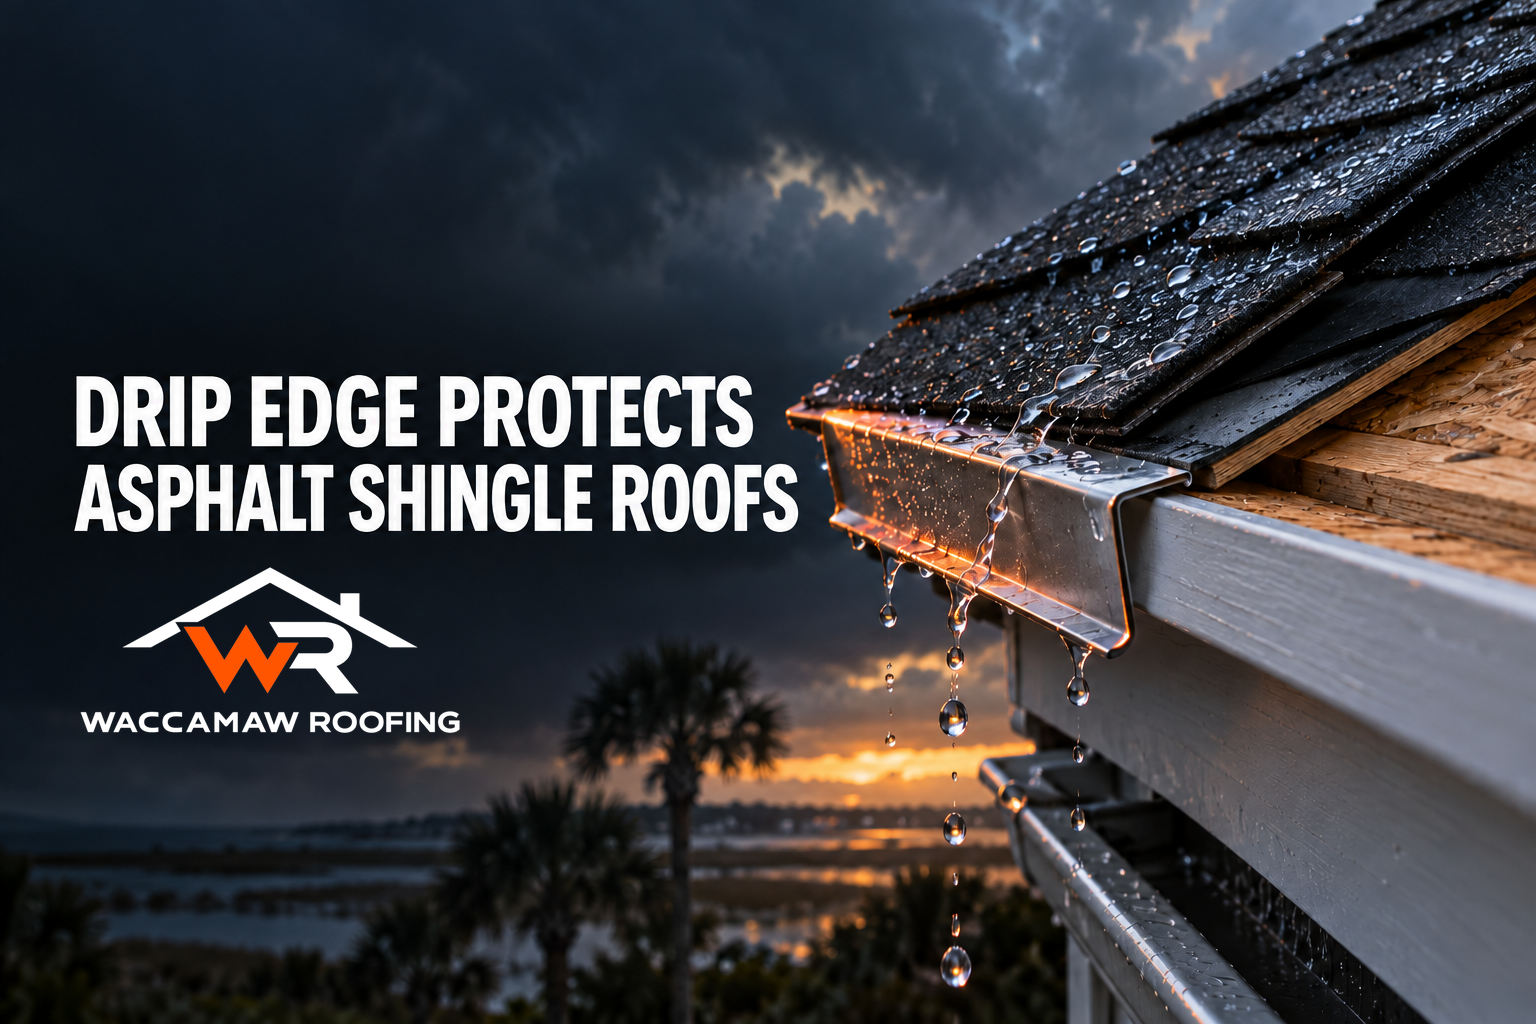
A correctly installed drip edge channels water away from the edges of an asphalt shingle roof, protecting the deck and fascia from rot and giving every shingle course a clean, straight line. The Asphalt Roofing Manufacturers Association (ARMA) publishes detailed guidance on the material, profile, placement, and fastening of drip edge at eaves and rakes, and the steps below summarize what those guidelines call for.
What a drip edge does on an asphalt shingle roof
Water that flows back under the bottom or side edge of shingles can soak the roof deck and the fascia board behind it. Installing a drip edge at the eaves, gables, and rakes helps shed that water before it reaches the wood. Beyond water management, a drip edge also finishes the look of the roof by creating a straight, even edge along every shingle course.
Material and dimensions ARMA recommends
The drip edge should be made of a corrosion-resistant material. It must extend a minimum of 2 inches (51 mm) onto the roof sheathing and drop at least 1/4 inch (6 mm) below the bottom edge of the sheathing so water is thrown clear of the supporting wood.
Profile and the kickout flange
Many drip edge profiles are available. The profile chosen must not block water from leaving the roof. ARMA points to one detail shared by effective designs: an outward bent flange at the lowest edge, sometimes called a “kickout.” That bend turns water outward so it does not run straight down onto the wood beneath the edge.
Where the drip edge sits in the underlayment layering
As a general guideline, the drip edge goes underneath the underlayment along the eaves and over the underlayment along the rakes. Where self-adhering underlayment is used at the eave, some shingle manufacturers and local codes permit the drip edge to sit over the underlayment. In those cases the deck needs protection from water that can back up under the eave, for example from ice forming in the gutter. ARMA describes the approach used for that situation:
- An initial 12 inch (300 mm) strip of self-adhering underlayment is installed first, with its lower edge aligned to the expected lower edge of the drip edge.
- That strip is adhered over the edge of the roof deck and up the eave.
- The drip edge is then fastened over this strip.
- The first course of self-adhering underlayment is installed next, overlapping the drip edge in the usual way.
The result is a drip edge sandwiched between two plies of underlayment at the eave, providing protection from melted snow or ice moving below or above the eave. Manufacturer installation instructions for the specific shingle product should be consulted to confirm the layering.
How to fasten the drip edge
Fasten the drip edge to the deck with roofing nails spaced 8 to 10 inches (203 to 254 mm) on center. Nails belong in the deck, not into the vertical leg of the drip edge.
Profiles and the shingle overhang that goes with each
The simplest profile is a 90 degree bend, often called an L-shape. With that profile, extend the starter course and the field courses of shingles 1/4 inch to 3/4 inch (6 to 19 mm) beyond the drip edge at all eaves and rakes.
Other profiles, referred to as T-shapes or D-shapes, extend outward from the roof edge before returning to match the roof structure. With those products, shingles at the rake can be trimmed flush with the drip edge, and shingles at the eave may extend up to 3/4 inch (19 mm) or be trimmed flush, depending on the look and the manufacturer’s guidance.
If no drip edge is used, all eave and rake shingle overhangs should fall between 3/8 inch and 1 inch (10 to 25 mm). The shingle manufacturer’s installation requirements should be checked for project specific guidelines.
When drip edge is required
A drip edge is strongly recommended on all shingled roofs and may be required by local building codes. Confirming the code requirements in the jurisdiction where the work is being done is part of the job.
Reference for further detail
For a deeper look at design and application methods, ARMA’s Residential Asphalt Roofing Manual is available for purchase through the ARMA website at www.asphaltroofing.org.
Safety on the roof
Walking, climbing, and working on a roof are dangerous. ARMA recommends that only trained professionals perform this work. Anyone who does attempt it should follow all government safety regulations, manufacturer instructions, labels, and warnings, and exercise extreme care throughout.
Drip edge on Grand Strand roofs
Waccamaw Roofing handles roof repair and roof replacement across the Grand Strand, including Myrtle Beach, Conway, North Myrtle Beach, Murrells Inlet and Pawleys Island. If you are not sure whether your roof has a drip edge, or whether it was installed the way the guidelines above describe, a roof inspection will answer it. Call (843) 488-4181.
FAQ
What is the purpose of a drip edge on an asphalt shingle roof?
A drip edge helps shed water at the eaves, gables, and rakes so it does not flow back under the shingles and rot the roof deck or fascia. It also gives the finished roof a clean, straight edge along every shingle course.
How far should the drip edge extend onto the roof sheathing?
ARMA’s guidance calls for a drip edge that extends a minimum of 2 inches (51 mm) onto the roof sheathing and at least 1/4 inch (6 mm) below the roof sheathing, made of a corrosion-resistant material.
Should the drip edge go over or under the underlayment?
As a general guideline, the drip edge goes under the underlayment at the eaves and over the underlayment at the rakes. With self-adhering underlayment at the eave, some manufacturers and codes permit the drip edge over the underlayment when a 12 inch starter strip of self-adhering underlayment is used to sandwich the drip edge between two plies. The shingle manufacturer’s installation instructions should be followed for the specific product.
This article summarizes reporting from roofingelementsmagazine.com.